UPI is a real-time payment app that enables the user to pay for Goods and Services using this online payment mechanism.
This app-based payment system enabled users to make online transactions easy, the success of UPI has embarked on the Digital India initiative taken up by the Government of India.
Furthering the motive of UPI, NPCI has launched UPI 2.0 which is nothing but an advanced featured UPI with many additional services.
With UPI 2.0, UPI has launched the UPI AutoPay feature which makes your bill payment automated. There are a lot of reoccurring bills that we come across on monthly bases. This UPI AutoPay feature will take care of these reoccurring bills.
Whether it’s mobile bills, electricity bills, EMI payments, entertainment/OTT subscriptions, insurance, mutual funds, etc. you can easily set up UPI AutoPay and remove the hassle of monthly bill payments.
In this article, we will discuss how to enable the UPI AutoPay feature in BHIM UPI, PAYTM, etc.
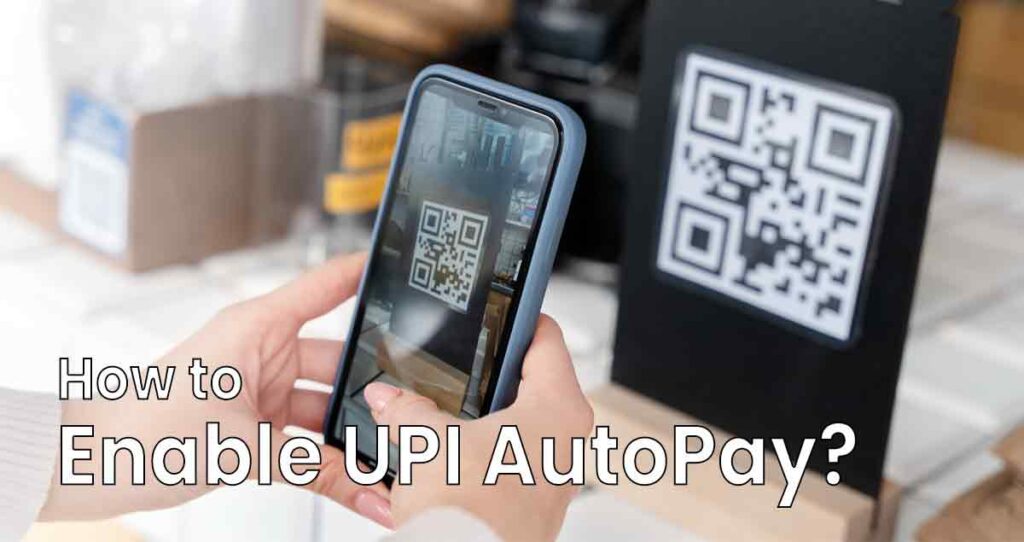
Table of Contents
How to Set UP the UPI AutoPay app in Bhim UPI?
You can follow these steps to set up the UPI AutoPay app in BHIM UPI-
- Open the BHIM UPI app and login to your account using your login credentials
- After logging in, you’ll have to click the bill section followed by selecting the service for which you want to enable AutoPay
- After that, select the Vendor or bill provider from the list or you can search for them
- After that, you’ll have to enter the Customer Services Number
- After that, your latest bill will be fetched and you’ll have to click on the setup UPI Mandate option
- Now, select the frequency of the bill payments like monthly, bi-monthly, quarterly, yearly, etc.
- After selecting the frequency, you’ll have to enter the UPI PIN and agree to the terms and conditions as well
- After entering the UPI PIN, your UPI Mandate will be enabled and auto-reoccurring payments will be deducted as per the schedule set up by you
- You can manage the UPI AutoPay from the UPI Mandate section of your app
How to Set UP the UPI AutoPay app in PAYTM?
You can follow these steps to set up UPI AutoPay in the PAYTM app-
- Open the PAYTM app and login to your account using your login credentials
- After logging in, you’ll have to navigate to the bank section followed by clicking on the Automatic payment option
- After selecting the automatic payment option, find the bill service provider for which you want to enable AutoPay
- After finding the bill service provider, you’ll have to enter the Customer Services Number
- After that, your latest bill will be fetched and you’ll have to click on the setup UPI Mandate option
- Now, select the frequency of the bill payments like monthly, bi-monthly, quarterly, yearly, etc.
- After selecting the frequency, you’ll have to enter the UPI PIN and agree to the terms and conditions as well
- After entering the UPI PIN, your UPI Mandate will be enabled and auto-reoccurring payments will be deducted as per the schedule set up by you
- You can manage the UPI AutoPay from the UPI Mandate section of your app
FAQ
UPI AutoPay is a special feature introduced by the NPCI to facilitate reoccurring bill payments by automatically deducting the funds from the account by setting up UPI AutoPay.
Yes, you can use UPI AutoPay for bill payments by setting up the UPI Mandate using your mobile app.
Yes, you can cancel the UPI AutoPay whenever you want by navigating to the UPI Mandate option and selecting the AutoPay you want to edit. Now, you can change or remove the UPI AutoPay.
I’m Shiv Kumar, a graduate with a passion for finance, marketing, and technology. My journey into finance started with a desire to understand money management and investing.
Our main goal is to empower individuals through financial education. We believe that everyone should have the opportunity to build a strong financial foundation. Whether you’re a seasoned investor or just getting started, we provide articles, guides, and resources to help you navigate the financial landscape.
I invite you to join our community of financially savvy individuals. Feel free to ask questions, engage with our content, and explore the topics that matter to you. Together, let’s take control of our financial futures.


