Aadhaar card is one of the most important government-approved documents which is used for a host of services. This single sheet of paper has a 12-digit unique identity number which you can use to buy a sim card, get a passport, benefit from welfare schemes and avail numerous other facilities.
In an effort to enroll a maximum number of Indian citizens in the UIDAI scheme, the government has simplified and digitalized the process of Aadhaar card appointment. This saves you from standing in the queue and gives you an opportunity to select any convenient Aadhaar Seva Kendra to book your appointment for getting new Aadhar Card as well as updating Aadhar information. Now you can easily book Aadhaar card appointment through the online mode and get an appointment at a center near you. The article would guide you with a step-by-step process to book Aadhaar card appointment online.
Steps for Booking Aadhaar Appointment Online
- Visit the website uidai.gov.in
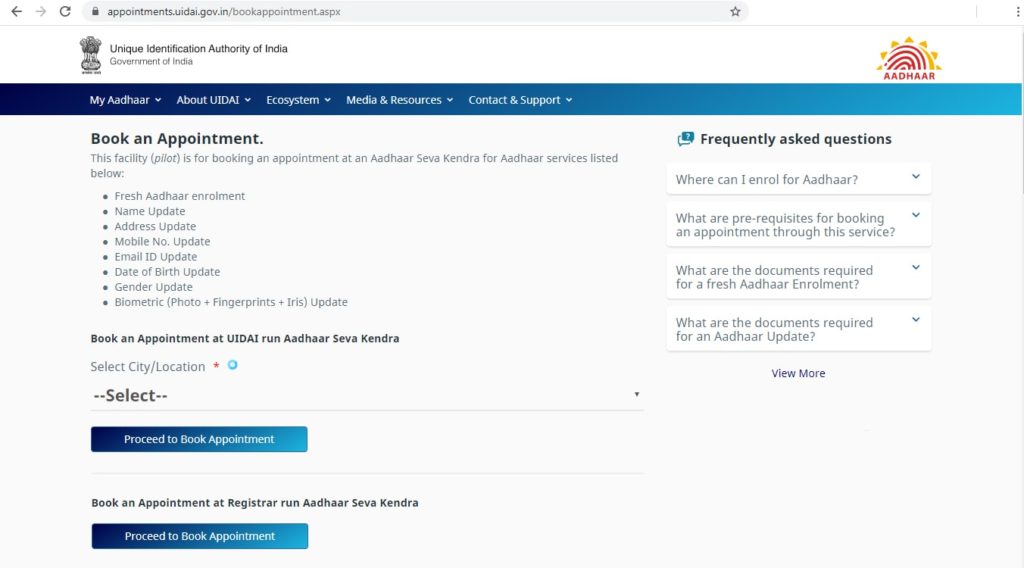
- The page has several windows. Go to the topmost window “Get Aadhaar” and click on the link “Book an Appointment”
- You will be directed to a new window. Here choose the option “Select City/Location” from the drop-down menu and pick a centre convenient for you.
- You would be again redirected to a new window. Click on the link “New Aadhaar”
- Enter your mobile number and the given Captcha, and click the button “Generate OTP”
- You will get an OTP on your mobile number. Enter OTP and click on the link “Verify OTP”
- A new window would come up. Select the appropriate resident type, application verification type, State and from the drop-down menu. Select Aadhaar Seva Kendra. The Application Verification Type must be “Document” or “HOF”. Click the “Next” button.
- In the new page that comes on the screen, fill in space for “Personal Details”, “Head of Family”, and “Address Details”. In the personal details space you have to enter your personal details like Full Name, Name Proof, Gender, Date of Birth, Date of Birth Proof, Email, Address Details, and Address Proof. In the “Head of Family” space, fill in details like Relation Type, Relative’s Name, Relative’s Aadhaar Number, and Relation Proof. In the “Address Details” space, fill in information like Pin, Village/Town/City, Post Office, District, State/Province, and other information. Click the “Next” button.
- You will be greeted with an “APPOINTMENT CONFIRMATION” page. Choose a time slot as per your convenience and click on the “Next” button.
- You will be redirected to a new page with the heading “APPLICATION REVIEW”. Here you can review complete details of your Aadhaar application status. If there is a problem then click the “Previous” button. If everything is correct, then click the “Submit” button.
- You will get a digital application form. Please, take a print of this form and carry it with you.
For children age below 5 years need a Birth certificate and Guardian’s Aadhar Card and PAN Card. They are issued Baal Aadhaar Card with blue in color ard. Don’t forget to register a mandatory biometric update when the child becomes five years.
All the best to your Aadhaar card appointment!
I’m Shiv Kumar, a graduate with a passion for finance, marketing, and technology. My journey into finance started with a desire to understand money management and investing.
Our main goal is to empower individuals through financial education. We believe that everyone should have the opportunity to build a strong financial foundation. Whether you’re a seasoned investor or just getting started, we provide articles, guides, and resources to help you navigate the financial landscape.
I invite you to join our community of financially savvy individuals. Feel free to ask questions, engage with our content, and explore the topics that matter to you. Together, let’s take control of our financial futures.


